Load
Iso-Surface ...
from the File menu of the 3-D Viewer: 
To add a rendered iso-surface to the 3-D display, select Load
Iso-Surface ... from the File menu of the 3-D Viewer: 
A dialog will now appear, from which you can select the image from which the iso-surface will be extracted and displayed.
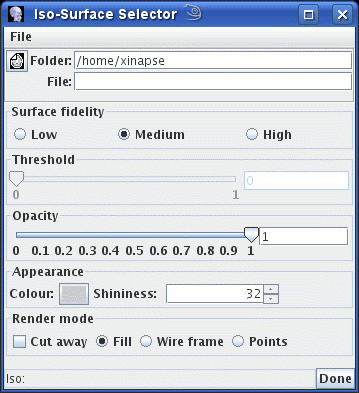
First, select the image you want to work with by clicking on the  icon, by typing in the folder (directory) and file name of
the image, or by pressing the right mouse
button and selecting from the menu of recently-used images.

This will automatically generate and display an iso-surface at an intensity level that is automatically selected. You can now make the following adjustments to change how the iso-surface is displayed.

Move the slider to the left and right to set the iso-surface intensity to a different value. Please note that calculation of the iso-surface and redisplay normally takes several seconds after you adjust the threshold slider.

 button and select the new colour from
the colour chooser that will pop up.
 spinner.
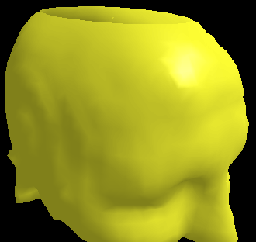 |
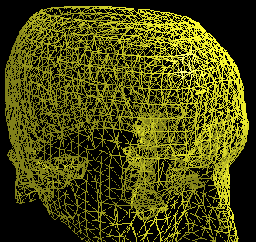 |
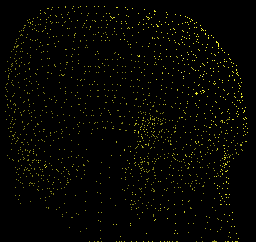 |
|---|---|---|
| Fill | Wire frame | Points |
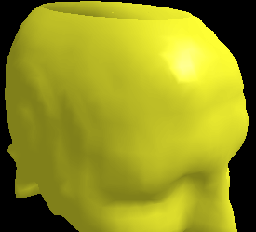 |
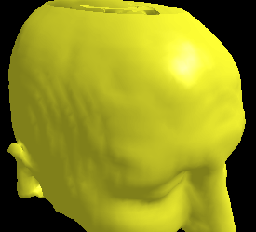 |
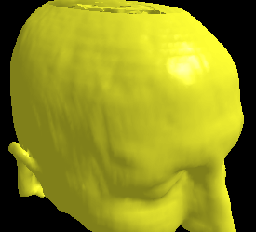 |
|---|---|---|
| Low | Medium | High |
The effect of selecting the  check-box is dealt with in the section about general controls.
If you click the  button, the iso-surface will be removed from the 3-D viewer.