Often, a series of images is acquired where the signal intensity change through the series of images must be analysed. Examples of these types of acquisition include functional magnetic resonance imaging (fMRI) and arterial spin labelling (ASL), but there are many other possibilities. The Dynamic Analysis tool in Jim is a general tool for the analysis of a series of images where the signal changes through the series.
The Dynamic Analysis tool contains two modules for analysis, but is easily extendable using your own plugins that you can write using the Java programming language.
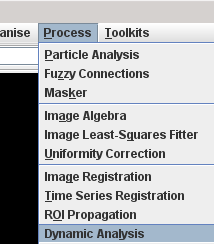
Start the Dynamic Analysis tool from the
Process menu.
This brings up:
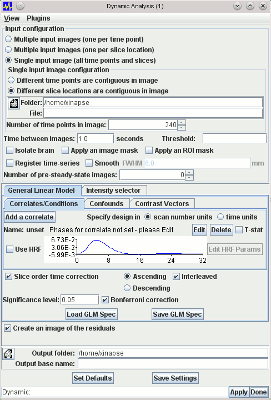
Some of the setup is common to all forms of analysis. The setup for organising and pre-processing the input images, and setting up the output images is common, and these are described below.
 and using the file chooser to select the input
image, or by pressing the right mouse
button and selecting from the menu of recently-used images.
and using the file chooser to select the input
image, or by pressing the right mouse
button and selecting from the menu of recently-used images.
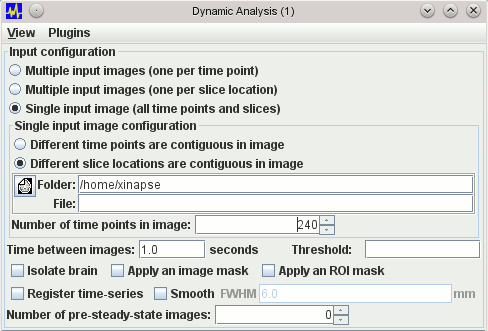
You must also tell the tool how many time points are in the image so that it can distinguish time points from slice locations.
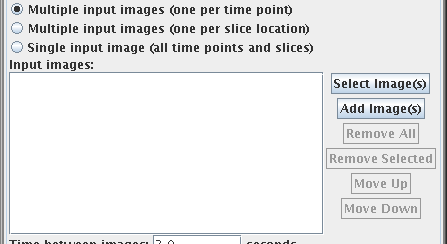
The panel below the "Input images:" label shows the current list of selected input images. You use the:
 button to
select a new set of images and put them to this list.
button to
select a new set of images and put them to this list.
 button to
select a some more images and add them to this list.
button to
select a some more images and add them to this list.
 button to
remove all the images from the list.
button to
remove all the images from the list.
 button to
remove the selected the image(s) from the list (you must first click
image(s) in the list to select them).
button to
remove the selected the image(s) from the list (you must first click
image(s) in the list to select them).
 and
and  buttons to
move the selected image(s) up or down the list. Images must be in the
correct order for analysis - either in the correct slice order, or
in the correct time order. Use these buttons to reorder them if
they are not.
buttons to
move the selected image(s) up or down the list. Images must be in the
correct order for analysis - either in the correct slice order, or
in the correct time order. Use these buttons to reorder them if
they are not.
All forms of analysis produce one or more parametric output images. The name of the output
parameter(s) is appended to a "base" image name. You choose the base output image
name by clicking on the
Having set up your input and output images, you can go on to perform either
the dynamic analysis.
Image Output
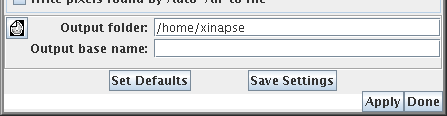 icon,
or by typing in the directory and file name.
icon,
or by typing in the directory and file name.
Note: these tools may overwrite existing output images, depending on the type of output
image, and the setting of the overwrite preference.
Saving Settings
If you want to perform several similar analyses, you can set up
the tool to your requirements, then press the  button. Then, next time you start the
tool, it will be configured in the same way. To revert to the
default settings, press the
button. Then, next time you start the
tool, it will be configured in the same way. To revert to the
default settings, press the  button.