Multi-Planar
Reconstruction
from the Organise menu:
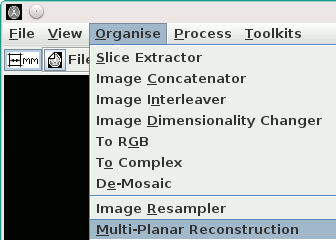 of the main display
frame.
You can interactively resample an existing image to have different numbers of slices, rows, and columns, different pixel sizes and fields of view, and different orientations of the slices using Jim's MPR tool images). Jim uses sophisticated resampling techniques to give the best possible quality in the re-sampled image.
To interactively resample an existing image, first load that image into
Jim's display window, then select Multi-Planar
Reconstruction from the Organise menu:
 of the main display
frame.
This brings up:
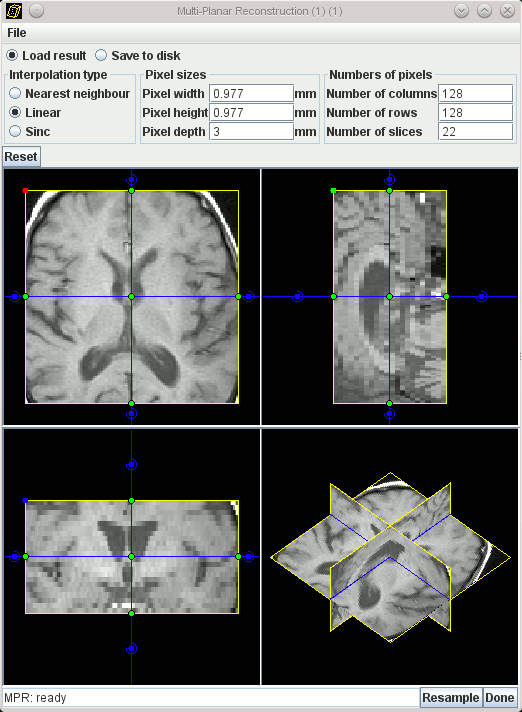
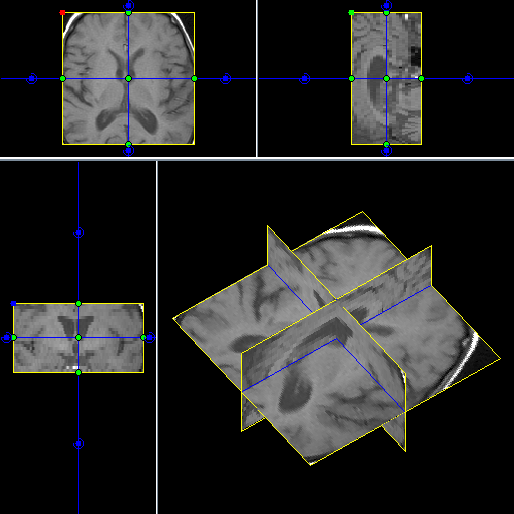
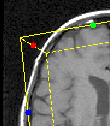
The MPR tool shows the current loaded image, with the extent of the resample volume indicated by the extent of the yellow boxes. The image in the main display also shows the currently-defined resample volume as a cuboid superimposed on the loaded image. Solid lines are above the image slice, and dashed lines are below the image slice.
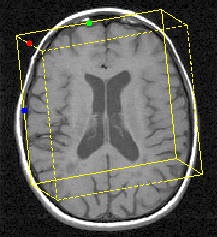
To help you orientate yourself, there are three coloured blobs (red, green and blue) on three edges of the cuboid that defines the resampling volume. These blobs can be seen both in the MPR tool, and in the main display.

 .
.
 .
.
 .
.
![]()
Note: If you set very small pixel sizes, and very large numbers of samples, resampling of the image will be very slow, and Jim may run out of memory.

As you move and rotate the handles, you will see an indication of the position that the new sample volume will take. As you release the mouse button, or type in new values for the pixel sizes or number of pixels (and press return), the resampling volume is redefined, and the views of the image are updated.
When you are happy with the redefined sample volume, you can resample the
original image with these settings to create a new image. Click the
 button to create the new dataset.
The new image will be of the same type as the input image.
The new image can either be saved to disk, or loaded into Jim
depending on your selection:

If you selected "Save to disk", Jim will prompt you for a new image file name for the re-sampled image.

You can select from the three types of interpolation:

This will bring up a File Chooser for you to select an XML file into which the geometry is to be saved.
After loading another image into Jim's display, to load this MPR geometry, select "Load Geometry..." from the File menu:

Note: if the newly-loaded image does not have the same field-of-view and slice orientations/positions as the original image on which the geometry was saved, the MPR volume will not contain the same anatomy.
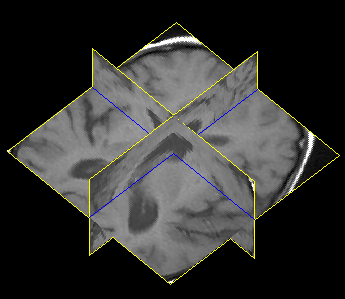
You can rotate this view of the resample volume by clicking and dragging the mouse in this panel.
