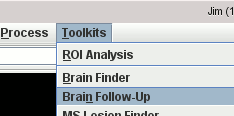
Toolkits menu:
This will bring up:
The Brain Follow-Up tool is used to detect focal changes in brain images that occur over time. The tool works with images collected at two or more time-points, and with one or more image contrasts. The images with one particular contrast (chosen by the user) are co-registered to a common template. This template can be constructed iteratively from the average of the images at the different time points, and will be at a position that is the geometric average position of the input images. The registered images are then intensity rescaled, and any intensity bias caused by non-uniform reception properties of the MRI receiver coils is corrected, before a subtraction is performed to show the differences between the images at the different time points.
The input images must:
Start the Brain Follow-Up tool from the Toolkits menu:
This will bring up:
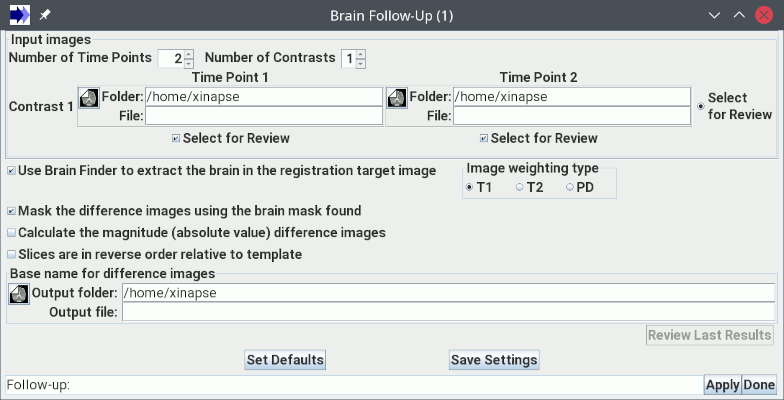
You set the number of time points to be analysed using the
 spinner, and the number of
image contrasts using the
spinner, and the number of
image contrasts using the
 spinner.
This will alter the size of the N Time-Points × M Contrasts matrix of image
selection panels below. For each image selection panel in the matrix, you must select the
appropriate input image corresponding to the time point and contrast for that column and row.
Note: only the first image contrast (set in the top row of the matrix) will be used
for spatial registration. The other image contrasts will simply be transformed using the same
transformation as was found for the first contrast. The images with the other image contrasts
must therefore already be in register with the first contrast at the corresponding
time-point. If necessary, they can be registered to the first contrast image using the
Image Registration tool.
After the analysis is complete, Jim can automatically present images for review.
If you want to take advantage of this, select which image contrast you want to review using the
 radio button at the end of the row for that contrast. You can only review one of the image
contrasts. Then select which pair of time points you want to review using the
radio button at the end of the row for that contrast. You can only review one of the image
contrasts. Then select which pair of time points you want to review using the
 check boxes below the columns for those time points. You can only review one pair of time points.
You can now go on to setup the other options for analysis.