- If you already have Java 17 installed, download jim-9-installer.exe to the Desktop. Then click with the right mouse button on jim-9-installer.exe and select "Run as administrator". This will launch the installer. You can get Java 17 from Oracle.
- If you don't already have Java 17 installed (or don't know),
download
Jim9Installer.zip
to the Desktop. Double-click on the downloaded Jim9Installer.zip,
which will open the zipped folder. Click on the Extract All button
 and extract the
files to your Desktop.
Then click with the right mouse button on jim-9-installer.exe and select "Run as administrator". This will launch the installer.
In the installer, when you come to set the "installation path", you can do either:
- A system-wide installation. Set the installation path "C:\Program Files\Xinapse\Jim9".
- A personal installation (for your own use). Set the installation path "C:\Users\Username\Xinapse\Jim9", where Username is your own user name.

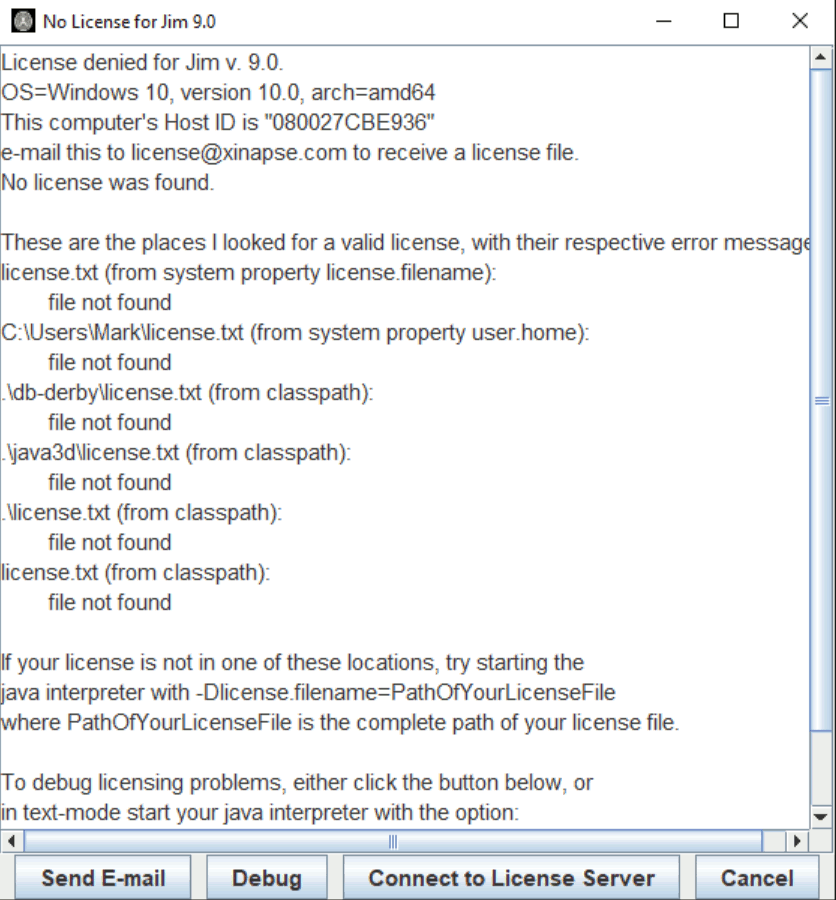
You will see a line that says something like:
- This computer's Host ID is "000123456789"
E-mail this string of digits/letters to .
.
Note: you can automatically compose an e-mail to
request the license if you click the
 button.
Note: Please use your professional or institutional email address. If you do not, you may not receive a reply.
Note: this is not an automated service, and there will be a delay before you receive your license file.
Please be careful when copying the hostid: if you send the incorrect hostid, Jim will not work. Each hostid is 12 characters long, and consists of the digits 0..9 and the letters A..F.
If you have purchased network (floating) licenses, you can set up the
connection to your license server by clicking on the
 button.
See the instructions for
setting up a connection to a license server.
C:\Program Files\Xinapse\Jim9). Please ensure
that the name of this file is "license.txt". (The installation
directory is the directory that also contains (amongst others) the file
"xinapse9.jar").
You should now be able to start Jim and its stand-alone
tools from the Start button under All Programs, Jim9
then the Jim9 menu item.
If not, please e-mail
 who
will help you to resolve the problem.
If you have received and believe you correctly installed your
license file, then you can get Jim to print out more detailed
messages about why licensing has failed. Press the
 button. This will pop up a further dialog containing
detailed license debugging messages. You can use these to diagnose the
problem, or e-mail the messages shown in this window to
 , to
help us to diagnose the problem.