
The first stage towards measuring brain atrophy is to isolate the brain from the surrounding tissue, such as subcutaneous fat, eyes muscle etc. This stage can either be done automatically (with manual editing if necessary) using the "Find Brain" function, or manually by contouring the outline of the brain on each slice. In either case, the result will be a set of ROIs - one (or possibly more than one) in every slice that define the outer boundaries of the brain.
Load an image containing an MRI head scan covering the whole brain. The image contrast should be such that the CSF appears dark in the image. This could be:
You can also use the Brain Finder to isolate the brain on T2-weighted images, although you could not then go on to measure atrophy, since atrophy assessment only works with T1-weighted images.
 check box.
There are two ways to isolate the brain.
 button puts the settings
back to its default value.
button puts the settings
back to its default value.

 |
|---|
| Not enhanced. |
 |
| Enhanced extraction. |
Note: enhanced brain extraction adds somewhat to the time needed for brain extraction.
Deselect the
 checkbox.
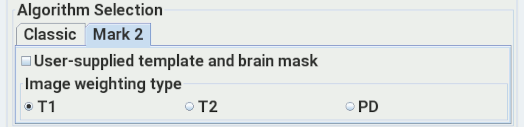
Then select the type of image contrast: T1-weighted (including FLAIR),
T2-weighted, or proton-density (PD). The weighting selection
makes sure that the correct template image is used.
checkbox.
Then select the type of image contrast: T1-weighted (including FLAIR),
T2-weighted, or proton-density (PD). The weighting selection
makes sure that the correct template image is used.
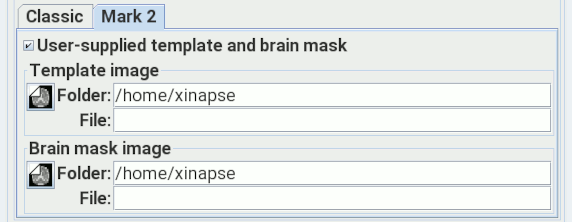
Select the
 checkbox. This will allow to select your own template image and brain mask:
Mark 2 does not require you to select
a threshold fraction, and
seems to be more reliable. However, registration of the template does take some time - up to
several minutes, depending on the speed of your computer.
Writing the 3-D brain shape.
The Brain Finder will create ROIs surrounding the brain.
However, you may want to visualise the brain surface in
Jim's 3-dimensional display. If you
select the  check box,
then a surface model of the brain will be created, which can then
be loaded into the 3-D Display as a
virtual reality modelling
language (VRML) file. The VRML file created will have a name taken from
the input image name, with an extension
check box,
then a surface model of the brain will be created, which can then
be loaded into the 3-D Display as a
virtual reality modelling
language (VRML) file. The VRML file created will have a name taken from
the input image name, with an extension .wrl.
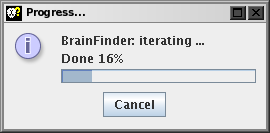
Next, click on the  button. This
starts the uniformity correction (if selected) followed by an iterative
search for the brain outline. During the search, a
progress monitor pops up, which can be cancelled at any time:
button. This
starts the uniformity correction (if selected) followed by an iterative
search for the brain outline. During the search, a
progress monitor pops up, which can be cancelled at any time:
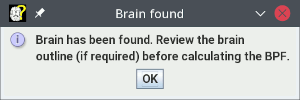
When the brain has been found, ROIs are created that define the outline of the brain, and a message pops up:
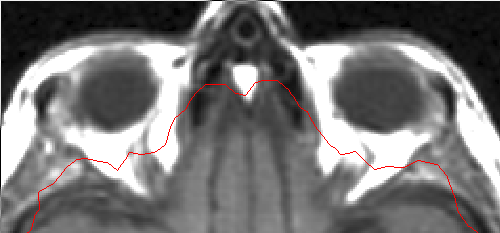
In some image slices, the brain may appear as multiple regions of interest. When editing the regions, you should retain all ROIs that actually contain brain parenchyma. In other slices, ROIs may have other ROIs within them, as in the example below:
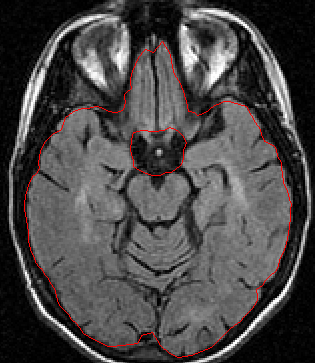
You should now edit the ROIs if necessary, to correct the brain outlines found automatically. If you prefer, you can define the ROIs in every slice by manually outlining the brain, or by using ROI contouring. When you are happy with the ROIs in every slice, then proceed with calculating the BPF.
Note: you should save the ROIs as a permanent record of the brain outline found.