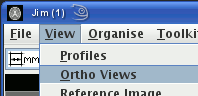
View menu of Jim or JMovie:
 .
.
When a 3-dimensional image is loaded into Jim or JMovie, you can display 2 views orthogonal to the regular imaging plane. For example, if you load a scan that shows axial sections, you can also show a coronal and a sagittal section through the data-set. As you click on the image, the location of these orthogonal views changes to follow the location of the mouse click.
Display orthogonal view from the View menu of Jim or JMovie:
.
This brings up the Orthogonal Views dialog:
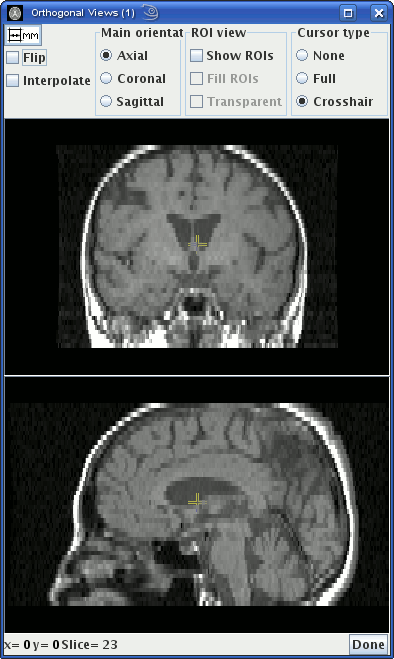
If you do not see any orthogonal views in the dialog, then double click on the main displayed image to select a slice.
When you have a slice selected, you will see the yellow cross-hairs on the main image, and on the orthogonal views. These yellow lines show the location of the slices shown in each of the orthogonal views. Click anywhere on the displayed sections to move the location of the orthogonal views. If you click on the images in the Orthogonal Views Dialog, the selected slice will change as the slice position changes in response to your mouse clicks.
You can change the type of cursor between:
The orthogonal views are displayed in accordance with standard
radiological convention; however, in order to do this, Jim
needs to know the orientation of the image in the main display. If
Jim is not able to determine this automatically, you may
set the correct orientation by clicking on the correct button in
the Orthogonal Views Dialog: 
If the slice ordering does not follow the standard radiological
convention (slice number increasing from inferior to superior,
from right to left, and from anterior to posterior), then click
the  check-box to tell Jim that
the slice ordering is non-standard.
check-box to tell Jim that
the slice ordering is non-standard.
You can display the orthogonal sections with bi-linear
interpolation by clicking the  check-box; this is particularly useful when the resolution in the
slice direction is lower than the in-plane resolution.
check-box; this is particularly useful when the resolution in the
slice direction is lower than the in-plane resolution.
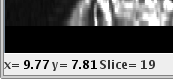
The location of the orthogonal sections is shown in the readout at the bottom of the Orthogonal Views Dialog, either in pixels or mm, depending on the setting of the units button.
If your image is a multi-slice movie, you can display orthogonal views through the multi-slice
dataset such that as you play the movie, the orthogonal view will also be shown as a movie.
Ensure that the movie has been set up correctly: the number of
slices, and whether the slices or time points are contiguous in the images must be set correctly.
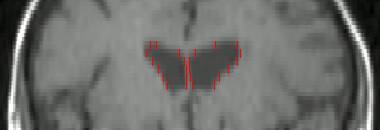
When the ROI Toolkit is active, you can visualise the regions you
have drawn on the orthogonal views. To make ROIs visible on the orthogonal sections, select the
You can change their appearance by selecting:
When you have finished with the orthogonal views, click on the
Orthogonal Views of Movies
Displaying Regions of Interest on Orthogonal Views
 check-box in the Orthogonal Views dialog.
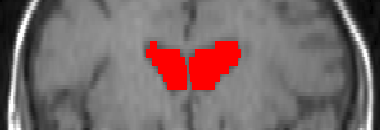
By default, only the outline of the ROIs will be shown in the orthogonal views, where they ROI
outlines intersect the orthogonal sections, as shown below for a set of ROIs that outline the
ventricles.
check-box in the Orthogonal Views dialog.
By default, only the outline of the ROIs will be shown in the orthogonal views, where they ROI
outlines intersect the orthogonal sections, as shown below for a set of ROIs that outline the
ventricles.
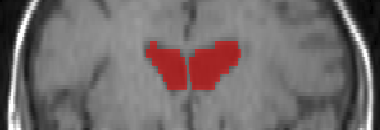
 - the ROIs will be shown "filled in" with
a solid colour as shown below.
- the ROIs will be shown "filled in" with
a solid colour as shown below.
 the ROIs will be shown with a
transparent fill as shown below.
the ROIs will be shown with a
transparent fill as shown below.
 button.